InDesign- Opening your document and setting the bleed
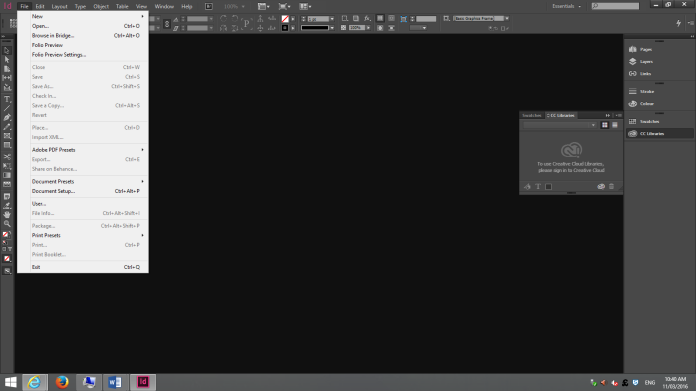
Step 1: Whenever InDesign launches, the first thing that you need to do is to choose File>New>Document.
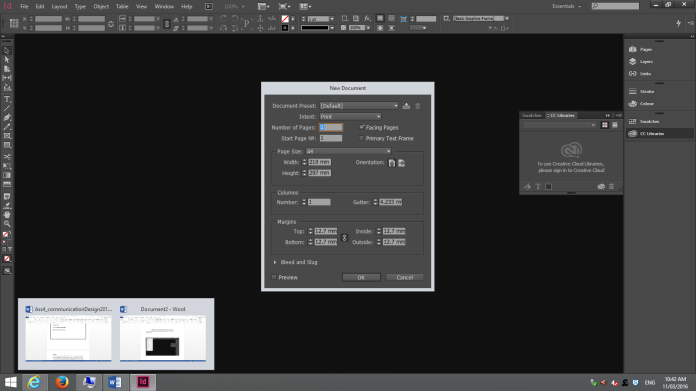
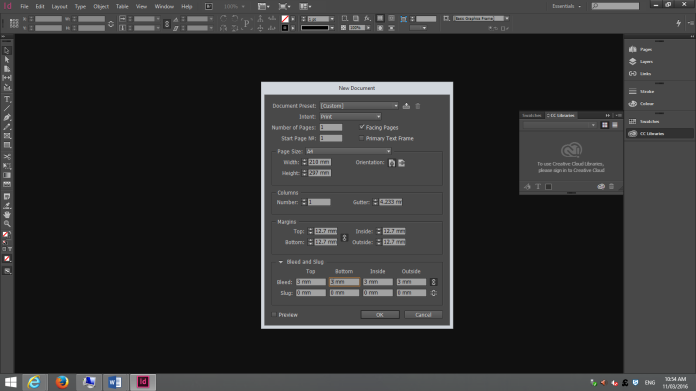
Step 2: Whenever you have clicked the following options a new dialog window will open, this dialog will include certain options such as the height and also width of the page which you will be able to edit.
Step 3: In this dialog box, you will also notice a dropdown menu called “Bleed and Slug”. Once you click this dropdown box you will see four different columns called Top, Bottom, Inside and Outside.
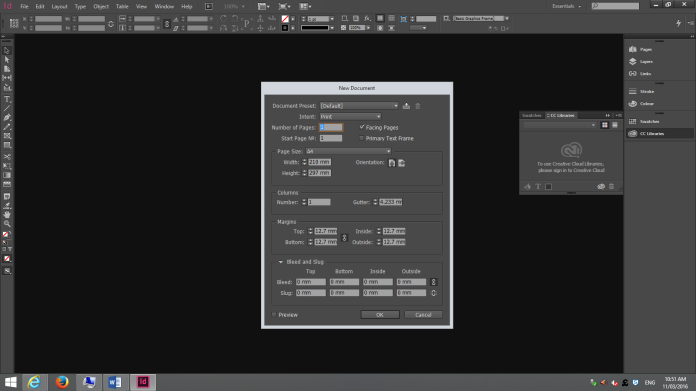
Step 4: In this case you will not need the “Slug” option, the only option that will be used in this case will be the “Bleed” option. The basic bleed that is set is 3mm, however you can edit this bleed to whatever you need it to be to suit your own designs.
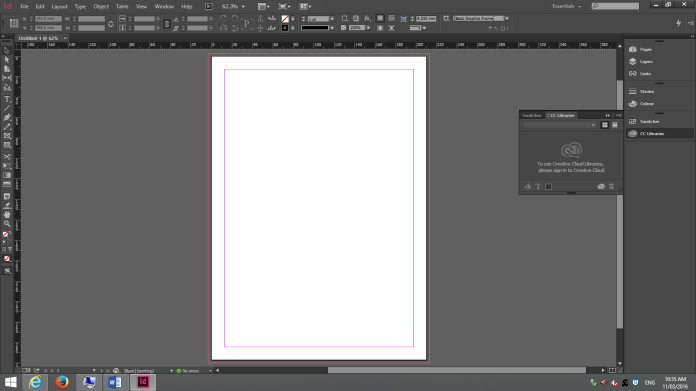
Step 5: Once all of this your specifications are sorted out then click ok. You will see in the page that you have created that a bleed has been put in place to give you a brief example of where your cut out place will be.