How to set up your illustrator and add bleeds
Step 1: Open your Illustrator programme. Once you have done this click at the top right of your screen “file” and then click new.

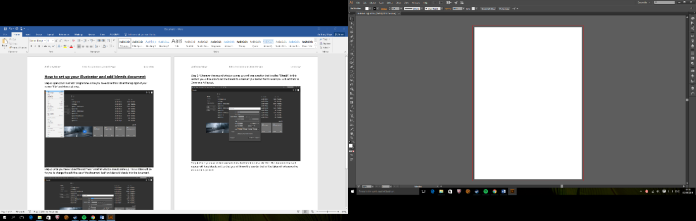
Step 2: Once you have clicked file and “new” another window should come up. This window will be for you to change the edit the size of the document itself and also add bleeds into the document.

Step 3: Whenever the second window comes up u will see a section that is called “Bleeds”, In this section you will be able to set the bleeds to whatever you like but for this example I will set them to 3mm on a A4 layout.

Step 4: Once you have clicked and selected all of the elements click “Ok”. The document that will appear will have bleeds on it so that you will know the boarder that will be taken off whenever the document is printed.