
Design Development Documentation
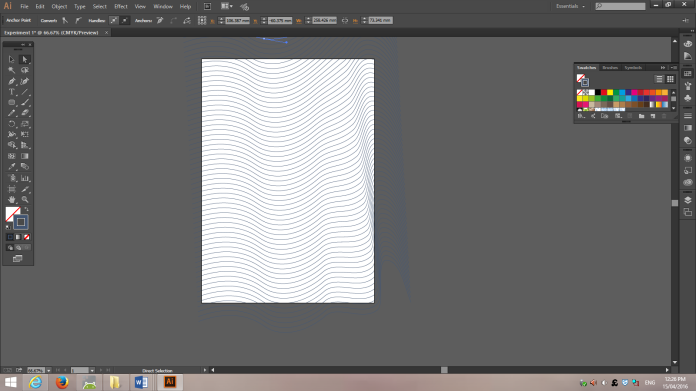
Experiment 1
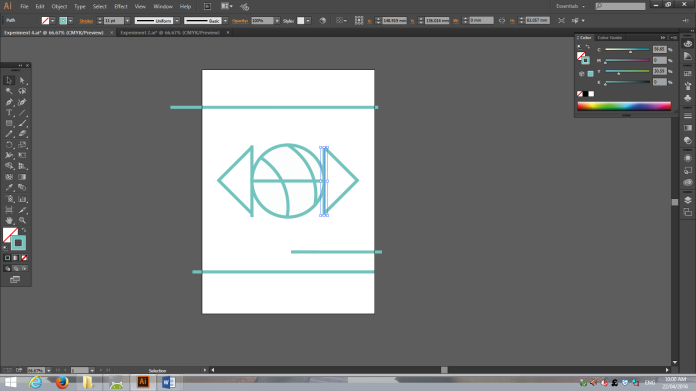
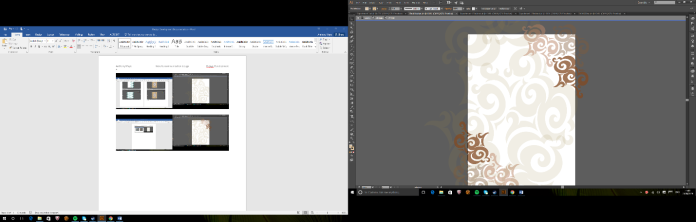
In this screenshot I began to test out some different ideas that I might be able to use for a type of design. As this was my first experiment I did not turn out very good.
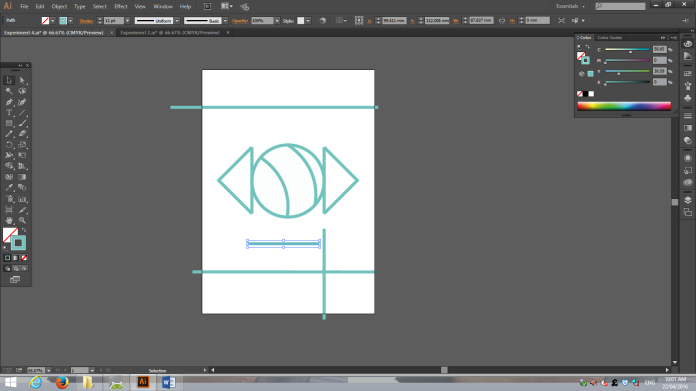
After I created on design type I selected “Object” and then selected pattern to automatically make more of the type of shape that I was using to create a type of pattern on the page.

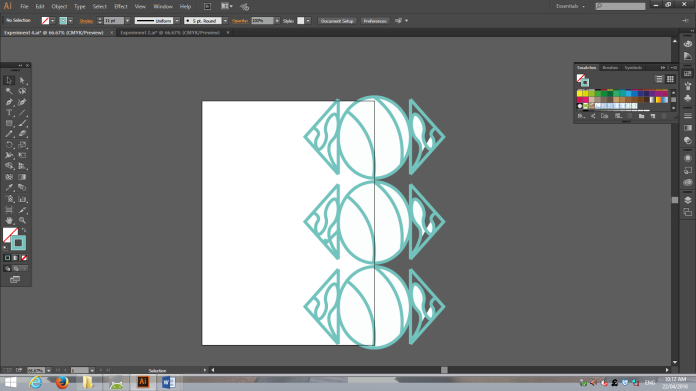
This was the final outcome after I used the patter tool.

Once I had created the pattern I then decided to change the colour of the pattern to a dark grey colour as it suited the theme more than the blue that I was using at the start. At this stage I also began to work on my logo on the front of the package.
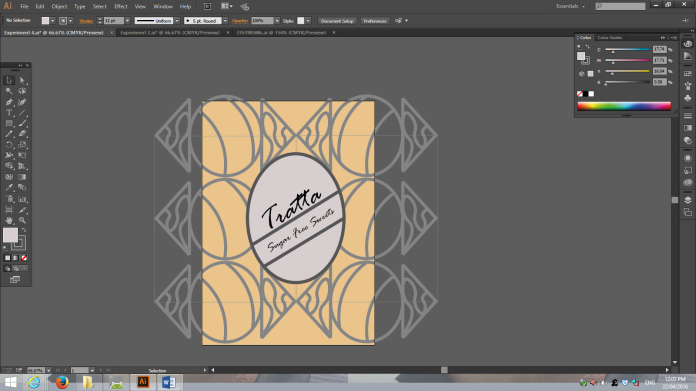
This was the final design of the first experiment that I did. I also changed the background to match the colour choices that I used within the design itself.
Experiment 2
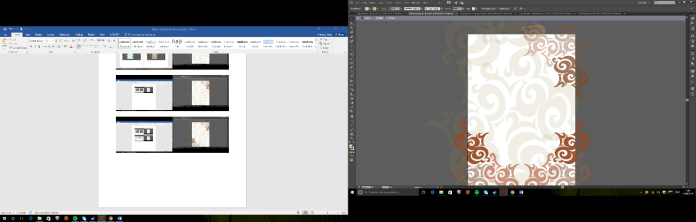
In the beginning I decided to draw a wavy line and then copy and paste it to create an identical wavy line.
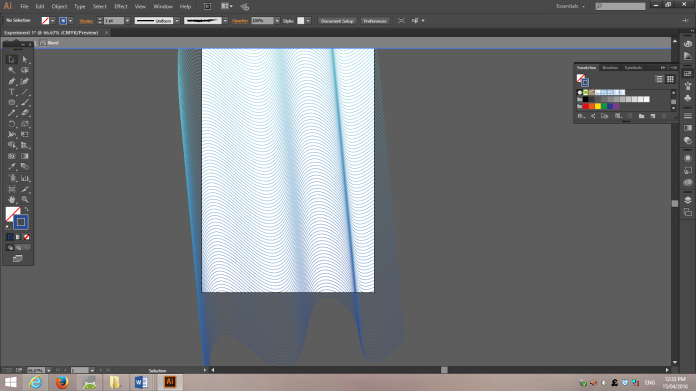
After creating the two lines I used a tool that would create multiple lines in between the two lines that I originally created to create a certain cool modern pattern.

I then changed the colour of one side of the lines to a lighter blue than the other to create a unique effect that would make it look like the colours where getting darker along the lines.

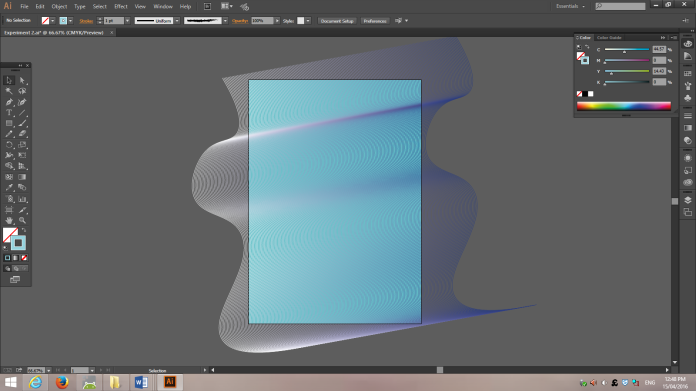
I then decided to add just a blue background into the design itself and changed the light blue colour on the lines to white so that it could match in with the background.
The was the design that I came up with before I made my final logo cover and then took it out of my previous experiment.
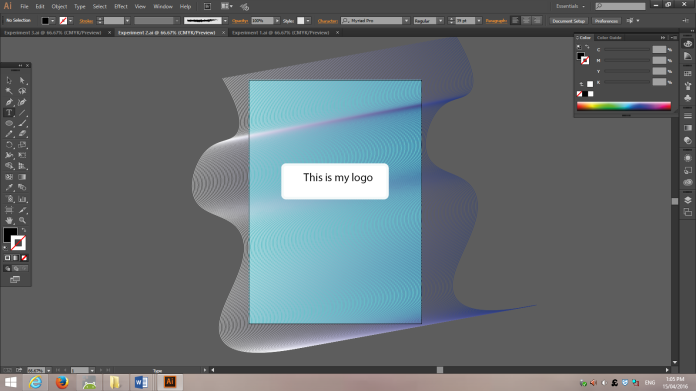
7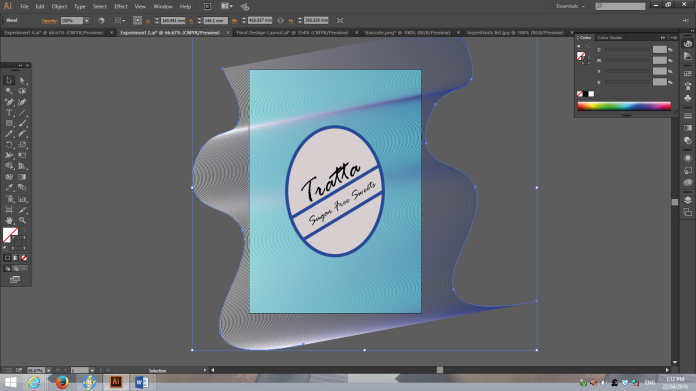
When I took the logo out of the previous experiment I made sure that I changed the colour of the logo slightly to match the colour of the background that I used.
Experiment 3
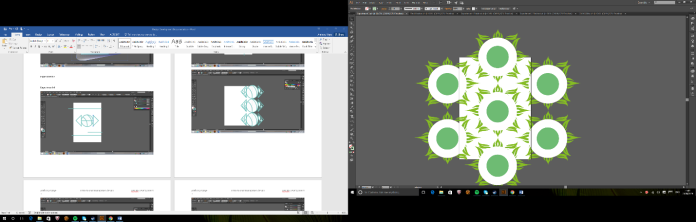
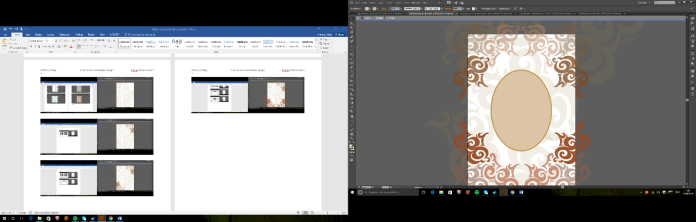
In the start of the third experiment I decided to experiment a bit with actual made designs. I then took one of the pre-made flower designs and changed the design itself around a little by adding a couple of shapes in the middle of the design to make it my own.
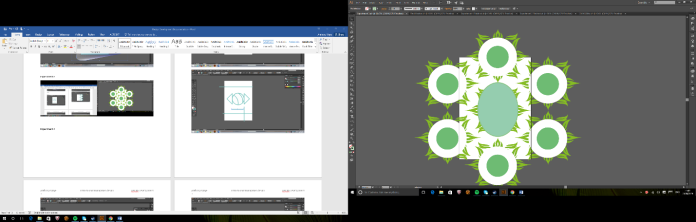
After changing some of the shapes I then made my design in the middle of the design and insert my logo into the design.

I then started to add the typography into the design and add my logo into it.

This was the final design that I got for the third experiment that I did for the assignment just so that I could play around with pre-made shapes.
Final Design

What ended up being my final design I started off with a pre-made image and switched it around a little to make more of them, I change the colour and made the design itself slightly transparent so that I could be used for a background.
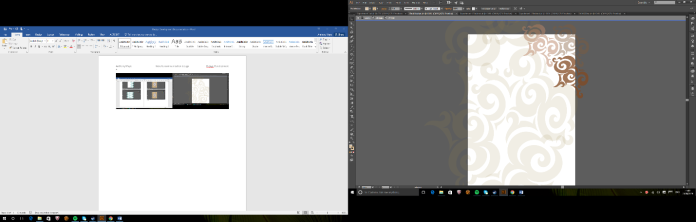
In this screenshot I started to add different other types of shapes the same as the background however they are a different colour fading in and out, I decided to place these shapes at the sides of the page.
After I added all of the different shapes in I then added my original logo into the centre of the design and adjusted the colour to what I wanted it to be.

This is the final design that I choose in to be my final print as I think it represented what I wanted the product to be better than the other designs that I had designed.
